
I use a mixture of re-inkers and pads. Personally I prefer the re-inkers but it's only a matter of personal preference. I use three brushes, size 6 for larger areas, size2 for medium and size0 for finely detailed work
My palette is a smooth kitchen tile. I use an egg cup for water and change if often - I was taught, ages ago, to use mineral water as tap water has chemicals in that can affect the paint. Now we're painting images for cards, not masterpieces to I hardly think this matters but I still do it from force of habit.
I printed the image on Fabriano Classico 5 paper which is 300g/ms (140lb) on a draft/quick print setting.

Firstly I start by deciding where your light is coming from, with this image I've decided it's coming from the front right.
I started by lightly colouring the skin areas with Tattered Rose.

Mixed with a tiny amount of Antique linen for the shaded areas.

Clean the brush wipe, remove most of the water and gently blend the two areas of colour.

I use a little Victorian Velvet mixed with the Tattered Rose to add 'roses' to cheeks.

Here I start to colour the hair using Weathered Wood. I hardly ever use Black Soot as I find it harsh and unforgiving, but do use a minute amount mixed to deepen colours. I mixed colours with water at different strengths - see above. Start with the lightest and slowly build up the colour constantly blending.

Here I used a tiny brush point of Black soot mixed with Weathered Wood on the darkest parts.


I decided to do a green scarf this time using Peeled paint - again mixing little pools of varying strengths.


I started by laying down a layer of the weaker mix where the shadows would be, using a brush with quite a bit of water I quickly blended the green over the whole of the scarf.

Slowly, little by little I built up the depth of colour, constantly blend in between each layer of ink.

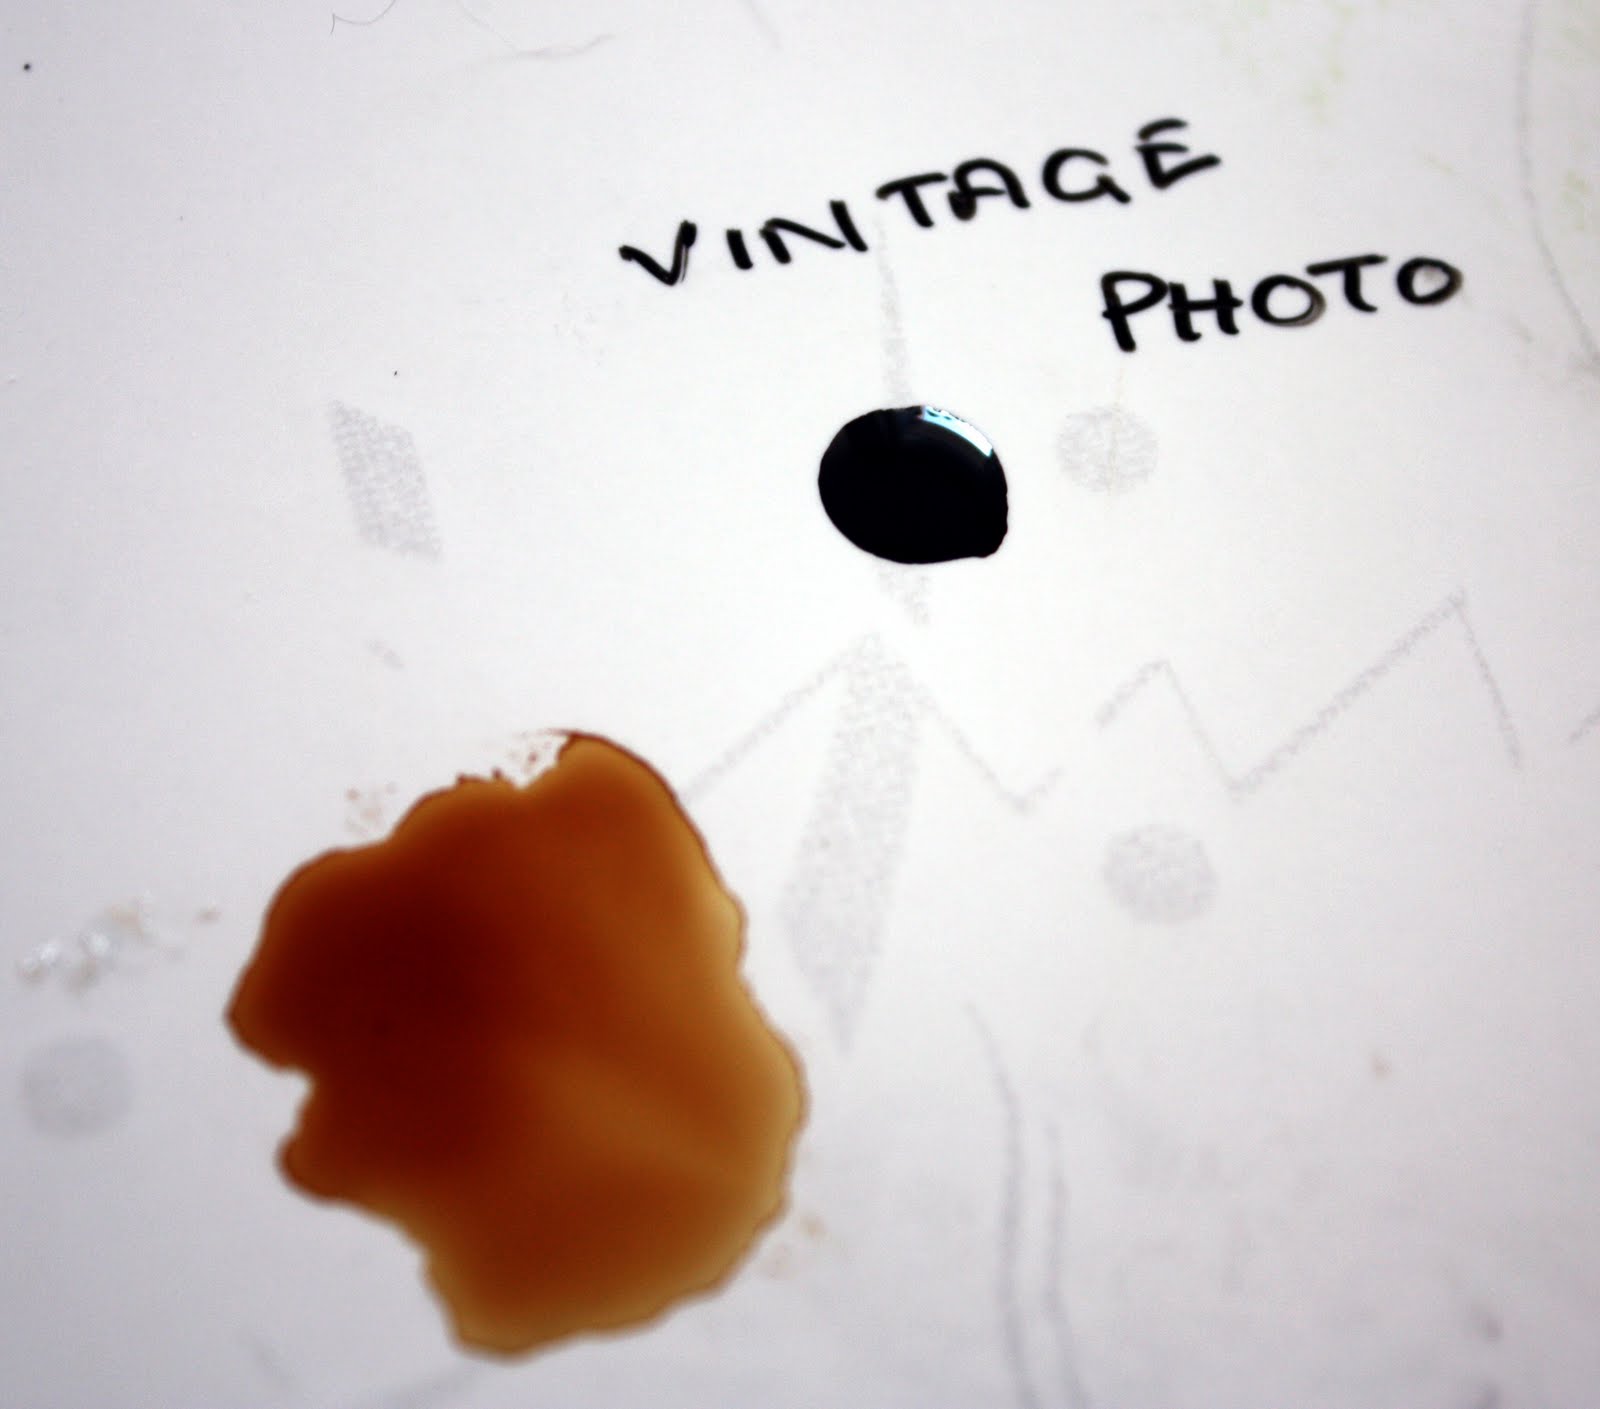
Next I started to build up the colour on the jacket using Vintage photo.
I put a light wash with my size 6 brush

Again I built up my darker shaded areas slowly and constantly blending.

With larger areas I use the wet in wet technique. I wet the area I wanted to add the shadow to, picked up a fair bit of dark ink on my brush and dropped it into the wet area. You can see how it spreads itself out, making it easier to blend.

You will also see water marks where I've wet the paper, these will blend easily.

I decided to use yellow Mustard Seed for the earphones and Tshirt.


I finally added colour (Weathered wood plus a touch of Black Soot) to the sunglasses.

At this point I looked and decided some areas needed more shade and depth. I added these and blended any part that need extra blending.

Here we have the finished image. There are parts where I've gone over the lines, I found the inks were drying very quickly in the heat, plus stopping to take photographs didn't help but these will not show on the card.
I would suggest you use decent quality watercolour paper and brushes. A good brush will return to a point making it easier to use.
Colours I find the most useful Tattered Rose - flesh coloured
Antique Linen - slightly greeny brown, good for darker skin tones
Vintage Photo - a nice warm brown
Peeled paint - green
Faded Jeans - blue
Dusky concord or Milled lavender - Mauve/ lavender/Purple
Dried Marigold - orange
Mustard seed - yellow
Weathered wood - bluey grey
I hope your find this tutorial use and if anyone is interested I have in my file colour wheels that show you the results of mixing colour etc. I could either do a tutorial or email you the colour wheels.
Any questions please feel free to ask, either in a comment or email me.

42 comments:
You are simply awesome Heather!!!! :)
Dear Heather!
What a fabulous tutorial. I am new with distress inks and find this very helpful. you have done an awesome job of your colouring. I was just speaking to my friend in America this morning telling her about your tutorial on coloring digi images with the distress inks and sent her your link. I said I now want to learn how to mix colours. I would very much love a colour wheel on mixing colours. My email is mazdo1@bigpond.com
Hugs Marion
Hi Hun bout time to!!!!! hehehe
Brilliant tutorial thank you so much, will have another go with mine, have great weekend hun, THANK YOU MUCH sue,xx
Wow Heather, your colouring tutorial is superb! So beautifully presented and easy to follow - and of course your colouring is breathtaking! Thanks so much for sharing this!
Hugs, Danielle
Heather this is just a FABULOUS tutorial, and your coloring is just breathtaking. I'll have to give this a try for sure !!!!
Thanks for sharing !
France
Hi Heather many thanks for taking the time to make this tute..got the idea now to put it to practise..LOL breath taking image & colouring...
Hugs Christine xx
Hi hun, thanks for the tutorial, it is great. Love your colouring you have presented very well. Have a fab weekend! Hugs,Moni
This is phenomenal! I'm utterly embarrassed by my comparatively mediocre work!!
Ohhh Heather,so beautiful colouring.
Hugs Riet.xx
Oh WOW! This is absolutely fabulous Heather, you are so talented at colouring with these distress inks, I love the effect! :) Love, Georgia xx
Thanks, Heather, for this great tutorial.
And the colouring of this image is beautiful!
Fantastic tutorial - it is great to see how it all builds up bit by bit - now I know where I have been going wrong! Thanks. Sarah x
Great detailed tutorial :) Thanx!
You make this look so easy....you do a remarkable job. I have never used this technique...I only have a few pad and reinkers....may have to invest in more and try this. Thanks so much for doing this for us....you are so sweet and very talented.
xxxxxx
Lisa
All I can say is WOW! A wonderful journey into your distressed inks! Give us more of such a good thing!
Absolutely fantastic tutorial. Thanks Heather.
Hi Heather such a fantastic tutorial, and very informative, I will certainly be using it as a guide in the future and I would love your colour wheels, You really do some awesome colouring and so life like, i'm still learning.
Happy crafting
Tracy x
ThmpsnTrac@aol.com
Heather, this is a sensational tutorial! Thanks for sharing your awesome talent.
Barb
Thank you Heather for this tutorial!
It helps many of us helplesses :)
Hugs XXXX
Hi Rica a fantastic tutorial and great colourwork Hugs Pascale x
Gorgeous I love it your coloring is very fabulous !!!
hugs coco
Fantastic tutorial thankyou so much
Wow Heather! Awesome. This is so helpful, I'm definitely going to bookmark this and come back often! You really are such a talented artist! I'm so glad to be able to say I'm on DTs with you! Thank you for this!
Gee, wow, fan-bloody-tastic, amazing colouring, not an ooooopsie in sight either, blimey i wish i could to that!!!!!!!!!!!!!!!!!!!!!!!!!!!! PS i want to know what printer you use - i dont think mine would take 300gms.
Hi again Heather, This Tutorial on colouring with distress inks is amazing. I am only learning (and I am slow) all about ways to colour and also the different techniques to create cards. I would really appreciate it if you could please send me a email with the colour wheel on mixing colours. My email is serenity@supernerd.com.au Thankyou again so much for sharing your great talents. Have a great weekend. Bye for now Maria
Heather- Wow! I am going to have to try this technique! Simply Gorgeous.
WOW! WOW! WOW! Heather, this is an absolutely fabulous tutorial!!! I started out colouring with Distress inks until I found my beloved Copics, smile! But honestly, I was never very good at it but always love the look that others achieve with Distress inks. Your colouring is always sooooo stunning and I was just blown away when I saw this fab image coloured flawlessly. I feel so inspired to try colouring with my Distress inks after seeing this tut. Thanks so much, hun!
Hugs,t
Thank you so much for sharing this technique!! I am very new to coloring and I haven't decided if I like the copics or the distress ink technique!!! This is absolutely beautiful!!! The problem I have is that when I print the digi off and then start to paint, the ink outline ink smears!!! :o( Thanks again!!
Absolutely STUNNING....Thanks for Sharing!!!
This was great ddn't think of using my inks for this kind of drawing he look amazing
love Dawn xx
I am totally in awe of your talent. Your use of DI's is amazing. Thanks for sharing this tutorial.
xx
Just been looking at this again Rica and it is truly stunning!! You are a true artist!! Thanks for sharing! Juliex
Hi there Thank you what a lovely detailed tutorial so full of inspiration, brilliant:) xx
this is amazing Heather, I can never get it right with my DI's. Must try out your tips x
Fantastic coloring!
I had never noticed this on your blog and when I came here to see the tutorial, I was blown away! Wow! You are so talented and the coloring of this image is remarkable! Super job! Best, Curt
This was really useful. Very well explained and depicted - thanks!
ARE YOU KIDDING ME????? No way! You make this look so darn easy!!! But I know its not. Its terribly complicated for me. LOL! Seriously, it takes talent. I mean serious Coloring talent!!! The kind that YOU have my dear friend! :) :)
This was utterly amazing. Thank you so much, I've never used distressed inks for colouring before, you have converted me, I now need to go buy some. Thank you again.
Suzi x
I just stumbled upon your blog while looking for tutorials for coloring with Distress Inks. My daughter and I have decided to venture into this media and your tutorial is fantastic.
If you still the the color wheel available I would love to have a copy and thank you for sharing.
muzikfiendz@gmail.com
Cooee! I've just found this Heather and I intend to call back for another look. I've lots of unused ink pads and will now buy some 'good' paper to give it a shot!
Thank you.
Chrissyxx
Hi, I too would love to receive a copy of your Color wheel. jaydee53@shaw.ca
Thanks
Judy
Post a Comment